
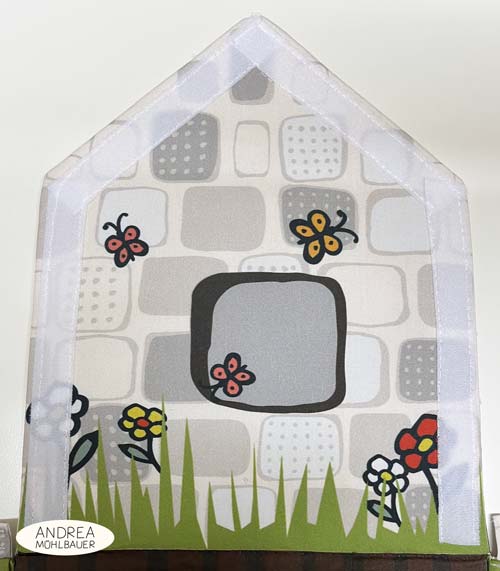
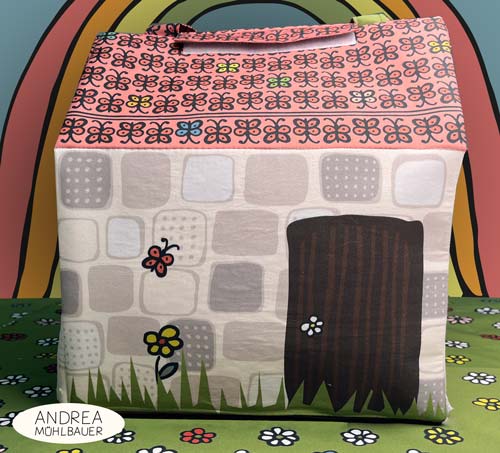
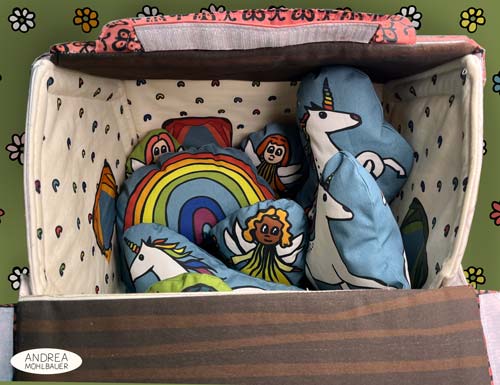
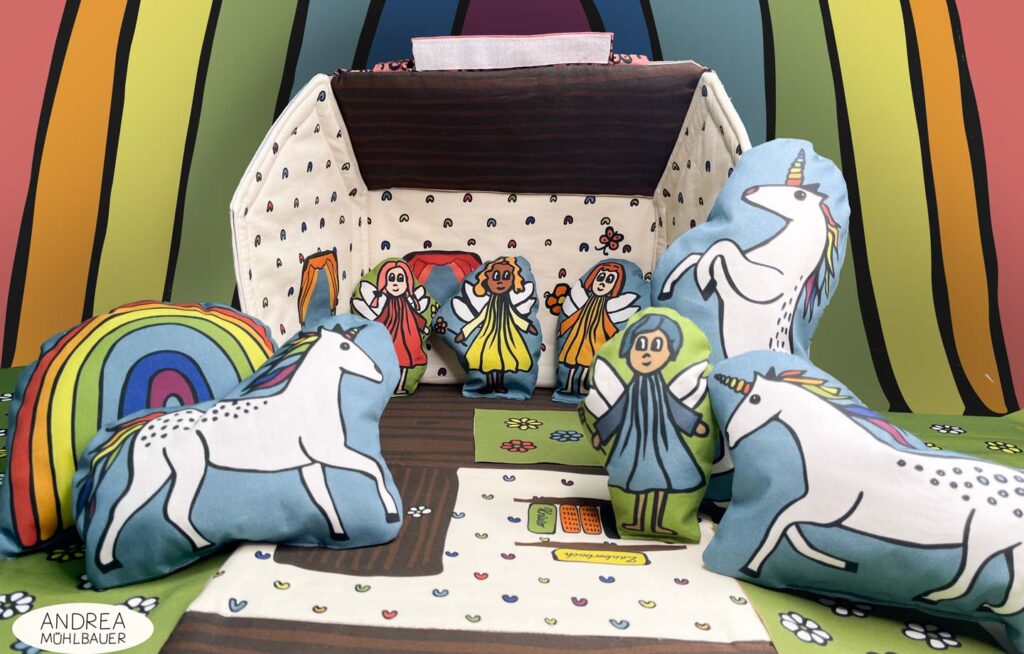
What about a homemade doll’s house for fabric dolls that can also be used to store and transport the dolls?![]() The advantage of a fabric doll’s playhouse is that it is easy to transport and can be taken on holiday. It is relatively soft yet stable, and can be unfolded flat and used as a play mat, or set up with three sides to create an open playhouse.
The advantage of a fabric doll’s playhouse is that it is easy to transport and can be taken on holiday. It is relatively soft yet stable, and can be unfolded flat and used as a play mat, or set up with three sides to create an open playhouse.
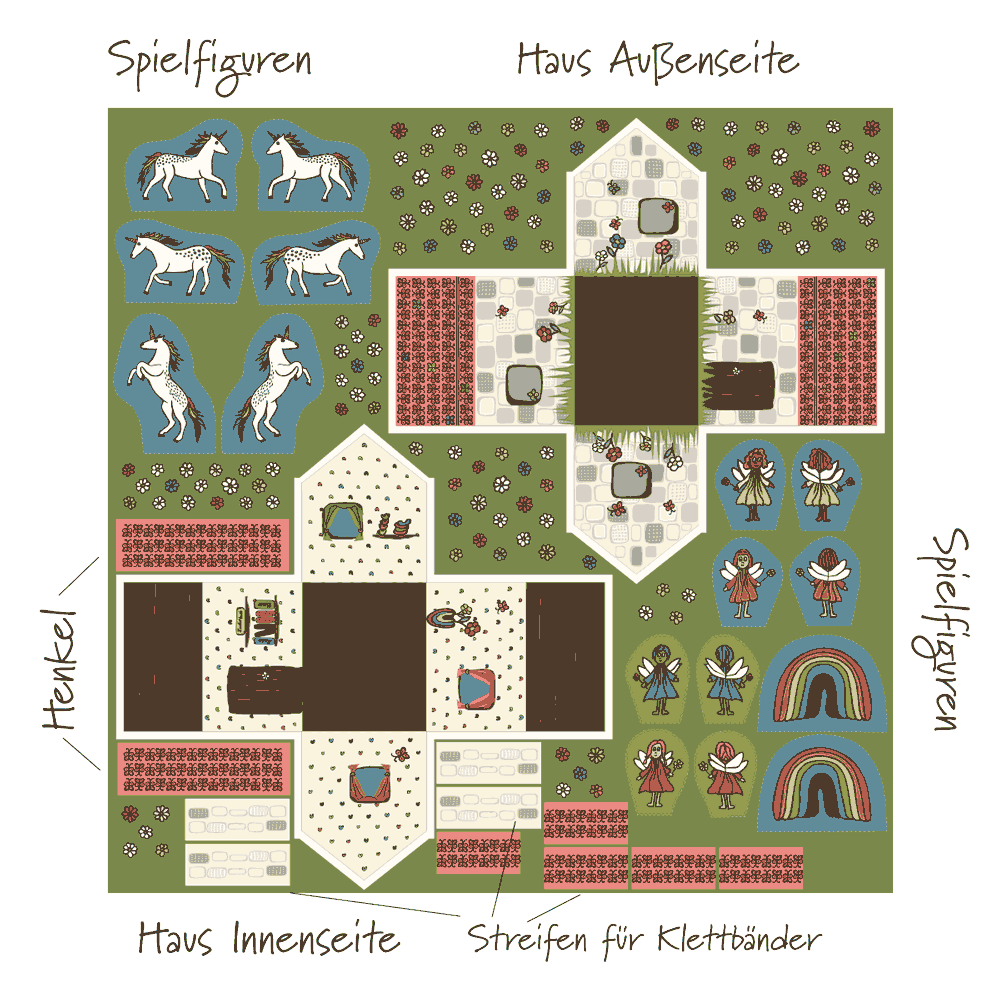
All the pieces and seam allowances for the doll’s playhouse are already marked on the panel. The batting and stiff interfacing must be cut separately and ironed on, as described below.
Some sewing experience is recommended.
Materialliste:
- 1 Doll‘s Playhouse panel

- 90 cm Iron-on volumizing batting (z.B. Vlieseline H 630)
- 90 cm Decovil – stiff leather like interfacing
- 2 m Velcro tape, beige or white 2cm breit
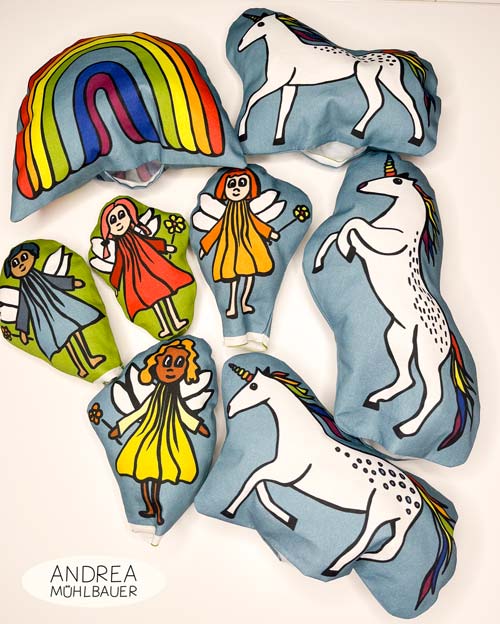
- Filling for the unicorns, the rainbow and the elfs
- Sewing thread in white, light red and brown
How to sew the house?
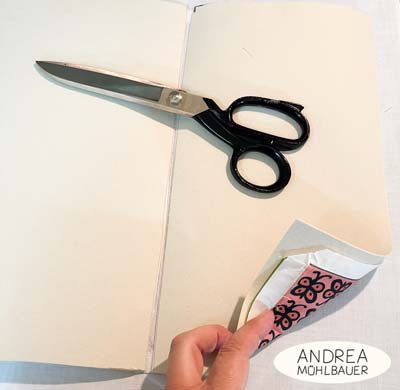
- Cut all pieces out of the panel
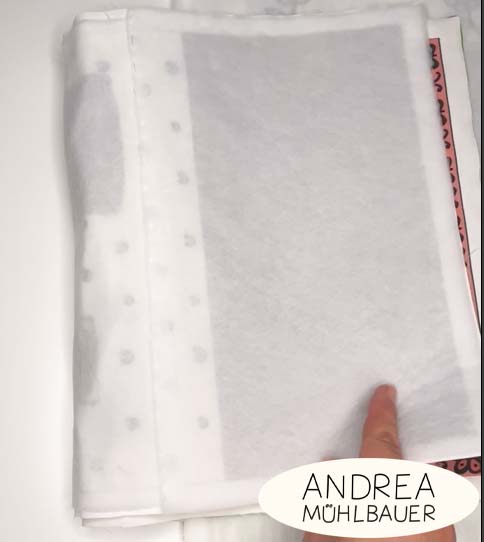
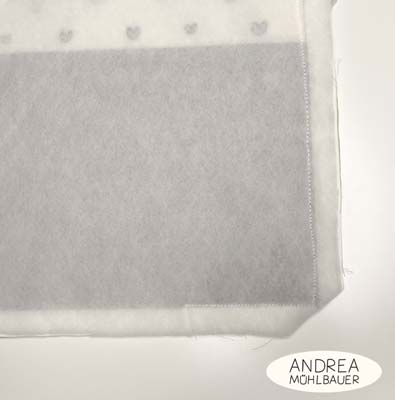
- Cut the volume batting according to the outline of the inside of the house and iron it onto the left side of the fabric, then allow to cool.
- Cut the stiff interfacing Decovil into the following pieces so that it can be folded over the edges of the floor and roof:
– 2 rectangles for the front and back walls of the house – 19 cm x 31.5 cm.
– 2 rectangles for the roof sides – 19 cm x 31.5 cm.
– 1 floor section 23.7 cm x 28.5 cm
– 2 side walls for the house. The best way to do this is to trace the contours of the fabric. - Iron the Decovil onto the left side of the fabric on the outside of the house according to the manufacturer’s instructions and allow to cool thoroughly.
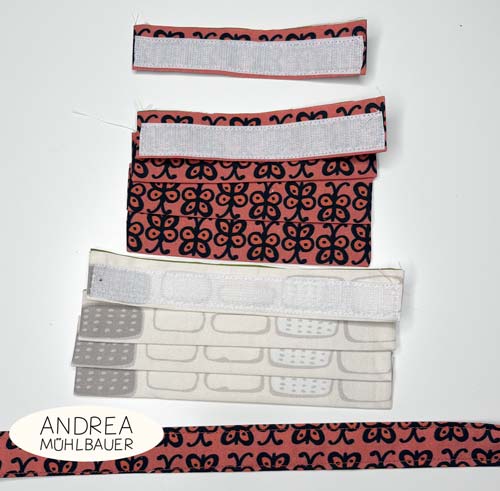
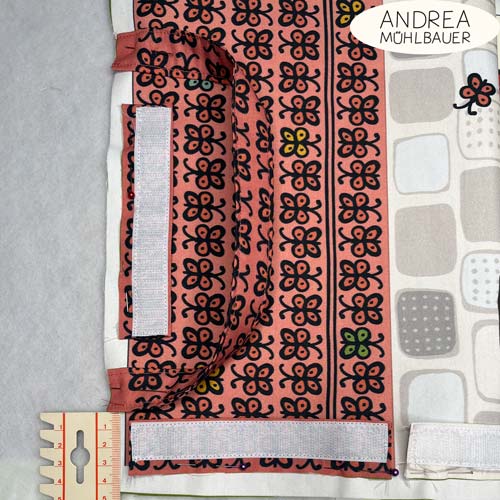
- Meanwhile, fold the fabric in half lengthways where the Velcro strips are to be sewn on and sew one strip of Velcro with the hook side along the folded edge.
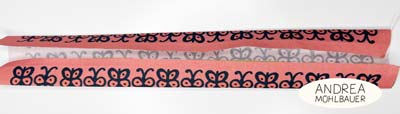
- Fold the handles from the outside toward the center, then fold them again in the middle. Sew them together close to the edge.
- Stitch the soft side of the Velcro tape onto the outside of the house’s side walls, leaving a few millimetres between the seam line and the edge. For best results, cut the tape into individual strips to avoid thick folds.
- Attach the prepared strips with the hook-and-loop fasteners to the outside of the house a few millimeters from the seam line.
- Stitch a strip of Velcro tape to the center of the roof of the house and the soft Velcro tape to the opposite side.
- Attach the carrying handles to the left and right of the Velcro fasteners on the roof.
- Place the two sides of the house right sides together, making sure that the pieces are positioned exactly opposite each other (door on door, window on window).

- Stitch all around, leaving an opening on the roof side with the soft Velcro tape.
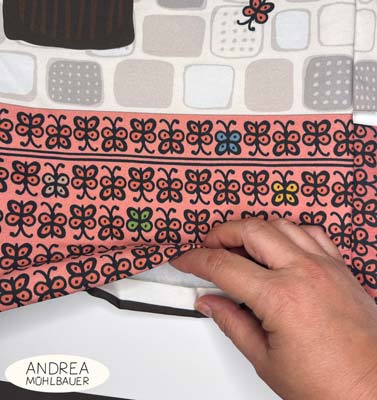
- Trim the seam allowances, especially in and around the corners, to avoid excessive bulges.
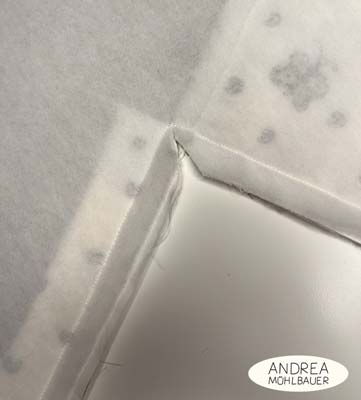
- Turn the playhouse inside out and pull the corners out neatly. This requires a little strength and patience. Then iron carefully.
- Close the opening with hand stitches or a sewing machine.
- Stitch along the bottom edges and between the roof and wall so that the layers of fabric stay together.


How to sew the dolls?
- Cut out the pieces along the dotted lines.
- Stitch together right sides facing and leave an opening for turning at the bottom edge.
- Clip the seam allowances all around so that they lie nicely around the curves.
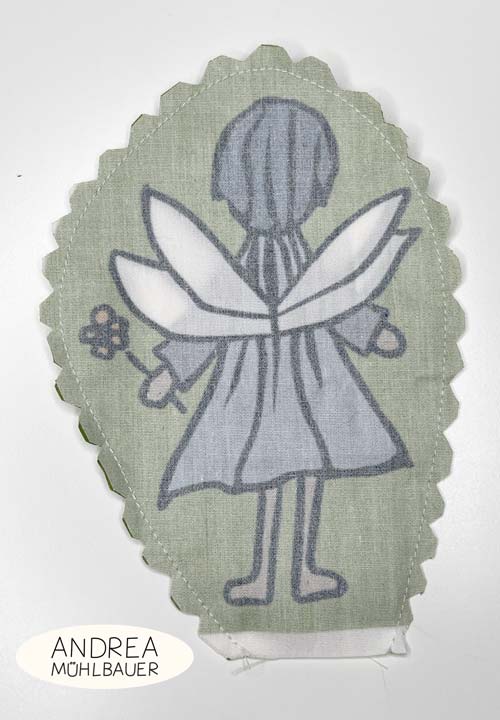
- Turn the dolls inside out and iron them carefully.
- Fill the dolls.
- Close the turning opening by hand or with a machine.
And now you’re ready to play.![]()
Have fun sewing!![]()
This blogpost contains advertising
Tag me on Instagram @andreamuehlbauer if you sew my designs. I’d love to see it!
0 comments on “Dollhouse Cut and Sew Panel”