Maybe you enjoy collecting small fabric scraps as much as I do.
They’re always left over when you sew something. But “enjoying collecting” is more of an excuse, as I simply cannot throw away fabric scraps—because I might need them one day for something special. You get it  .
.
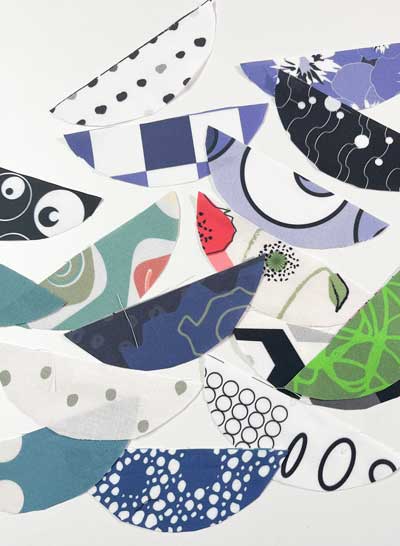
In fact, I often sew my sustainable shopping bags from test prints of my designs at Lillestoff and Spoonflower, and they always leave me with lovely little scraps from the handle cutouts. Luckily, these are perfect for making simple fabric labels.
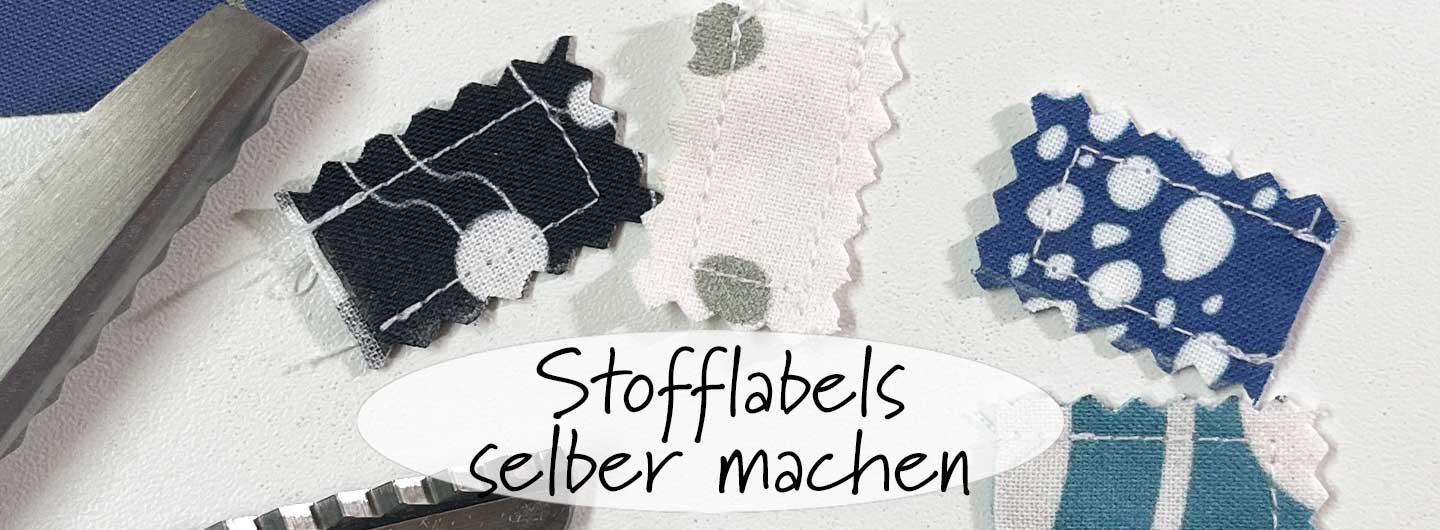
How to make label from fabric scraps?
It’s quite easy:
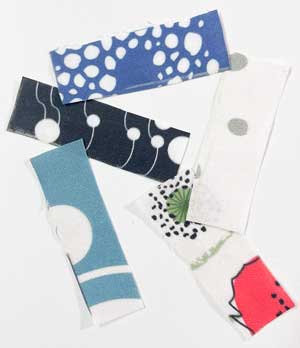
- Cut a strip of fabric 2 cm wide and at least 6 cm long. These measurements are just an example, that work for my projects, but it is entirely up to you which size of your labels you choose.
- Fold the strip in half lengthwise and sew along three sides with the machine, about half a centimeter inside the cut edge.
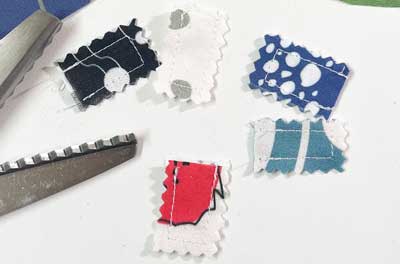
- Then cut the edge with Zigzag scissors to prevent fraying.
- And your label is ready!
If your fabric frays easily, you can also iron on a thin layer of interfacing before folding. I did this with my first labels, but since I usually test print my designs on woven cotton fabric, it’s not necessary.
Another option would be to cut the label wider, sew it together right sides facing, turn it inside out, and then topstitch it.
However, this is much more fiddly and my patience sometimes runs out faster than the thread, so I quickly gave up on this method.
For my purposes, the jagged edges work very well anyway, because I mostly do upcycling projects and therefore it’s okay if things are a little less precise and controlled.
Another variation, as a tip for those of us who also collect spare buttons, is to sew a button onto one side of the label as a small additional detail.
And one last idea is to embroider the initials of the future owner of the piece (or even the designers initials  ) onto the label before cutting it to size. This can be done with hand stitches such as the stem or running stitch, but also with the embroidery program of the sewing machine, if available.
While writing this blog post I realized how many possibilities there are for making creative labels from fabric remnants.
Can you think of any more? Would you like to share them with us in the comments?
In any case, have fun sewing!
Below are two more examples of how I use the labels.
(This post contains advertising)

0 comments on “How to make simple DIY fabric labels”