
I love sewing shopping bags and gift bags. Sometimes, however, it’s time consuming to figure out the measurements, mark them correctly and get the project finished as quickly as possible, especially when you’re in a hurry (and I’m usually always in a hurry  )
)
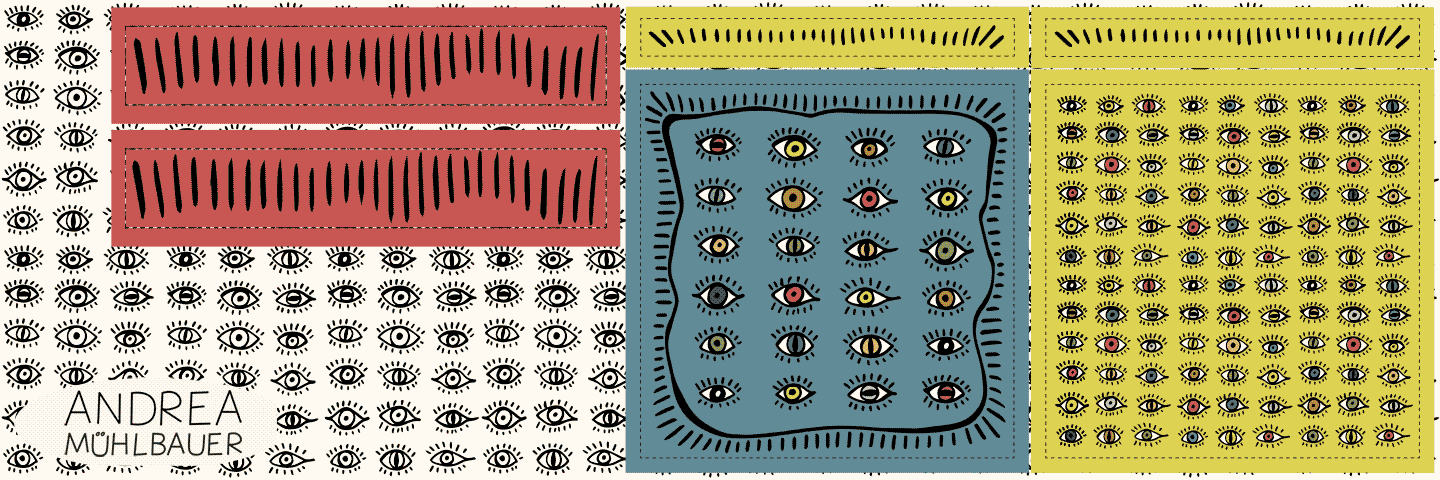
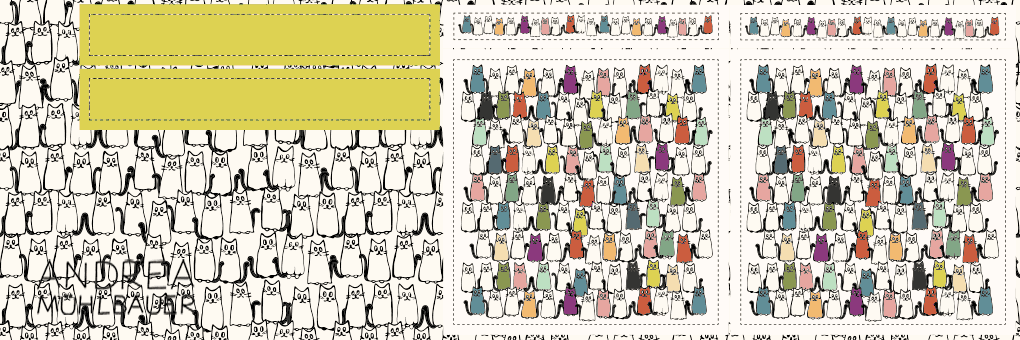
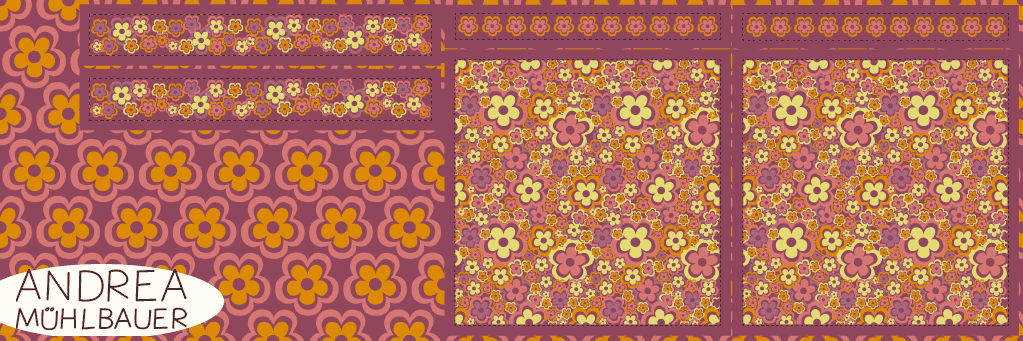
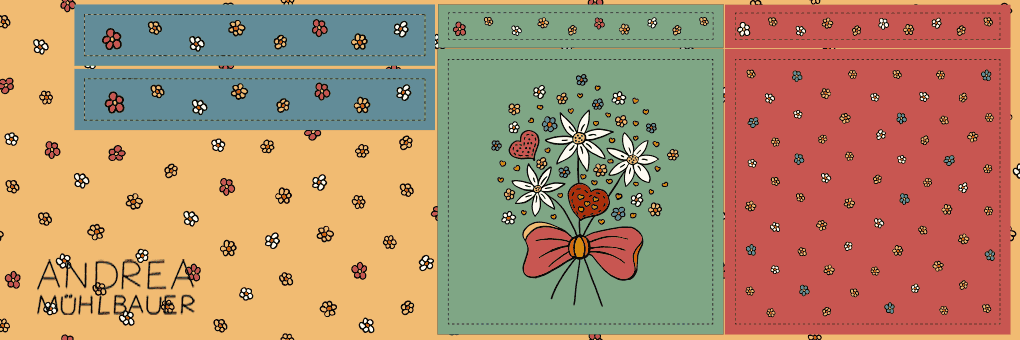
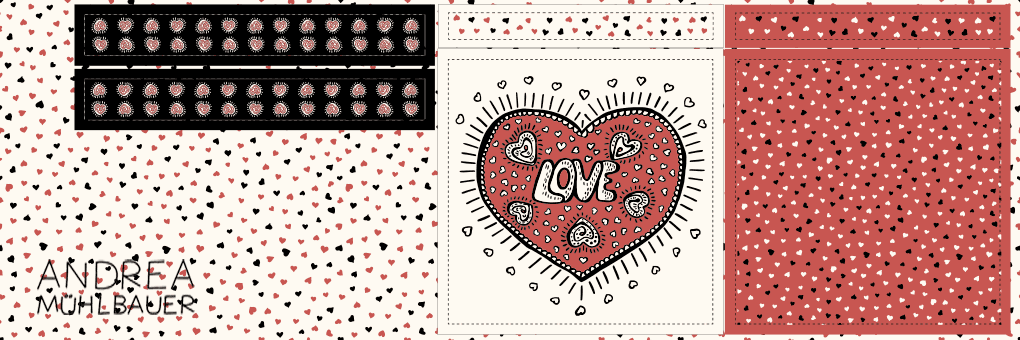
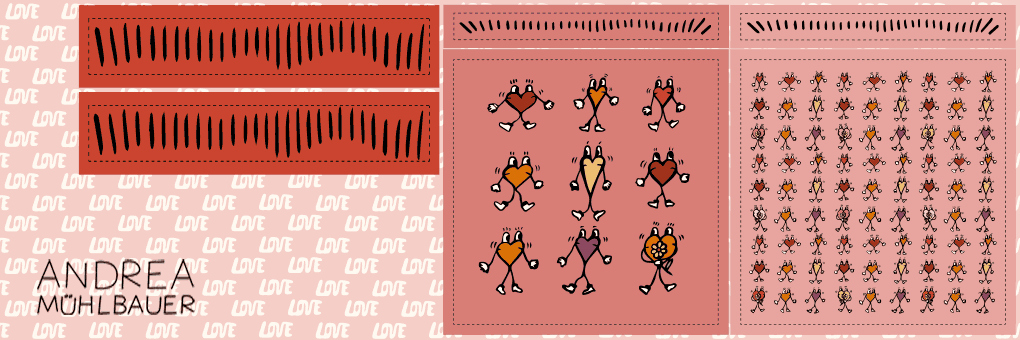
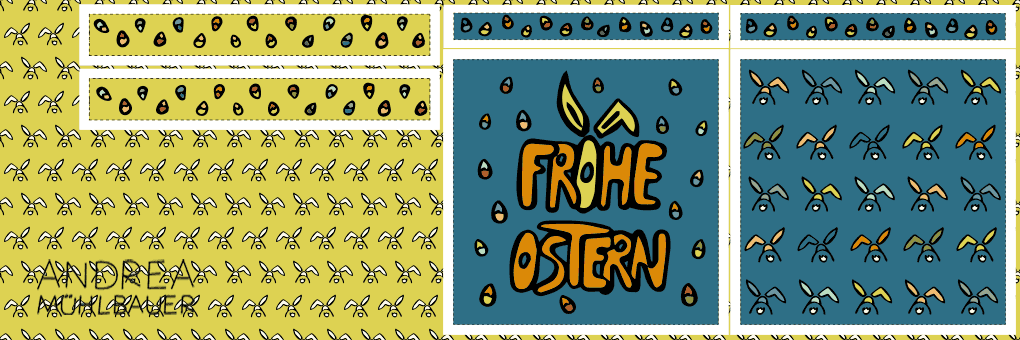
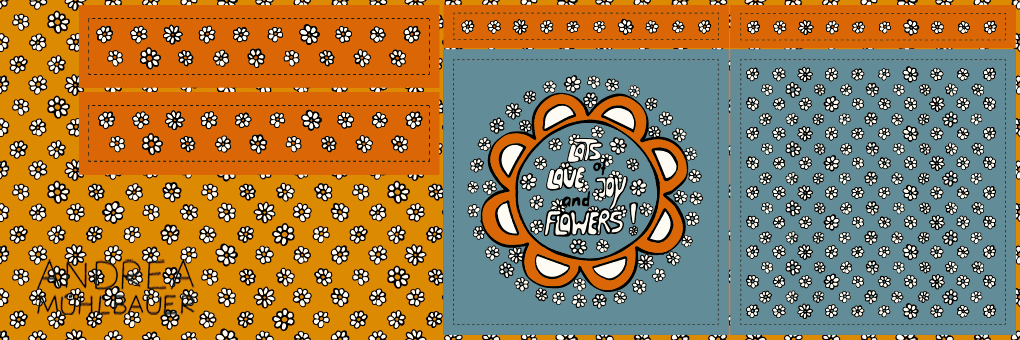
That’s why I created cut and sew panels, which can be used to sew bags in no time at all.
I try to keep the panels as simple as possible, but to make sure that nobody has to think about how to work with the cut and sew panels, here are a few simple instructions.
(more bag panels at the end of this blog post)
Materials:
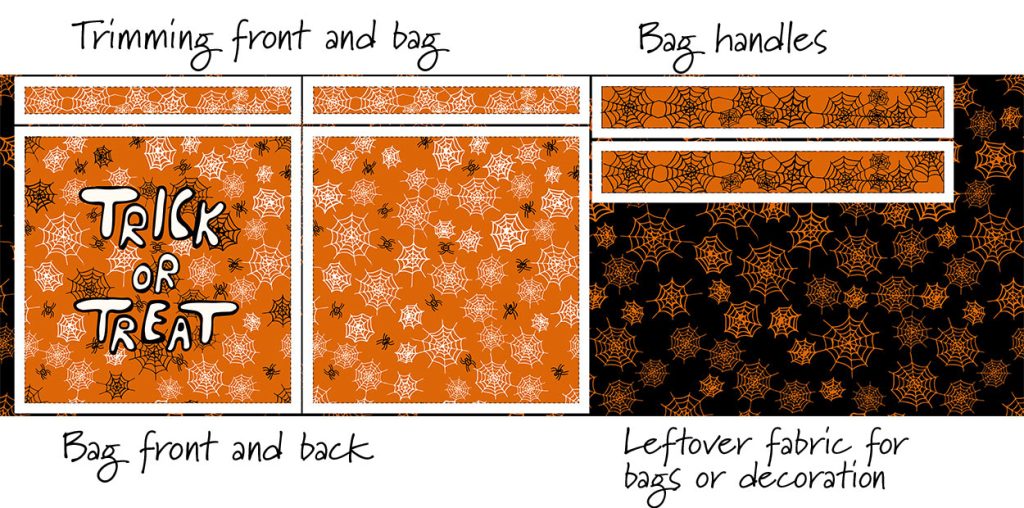
- 1 panel (like the Trick or Treat Panel) cotton or canvas
- Sewing thread
Cut out along the white seam allowance. The dotted black line is the sewing line.
Handle:
Method 1:
Fold the handles in half lengthways, fold the white seam allowances inwards on the longer sides and topstitch close to the edges.
Method 2:
Fold the handles lengthwise right sides together and sew along the dotted line. Turn the handles right side out and topstitch along the edges.
Trim:
Fold one seam allowance of the long sides of each trim strip and topstitch along the edge
Finish the bag:
Pin a handle 8 – 10 cm to the left and right of the side seams on the front and back piece, place a trim strip on top – right sides together – and sew along the seam line. Fold the trim outwards.
Sew the two pieces together, finish the edges, reverse the bag, fold the trim inwards and topstitch along the upper edge.
Tip: You may want to sew twice on seams that have to withstand more (bottom of the bag, handle at the opening).
The left over fabric can be used to sew little gift bags or in combination with other fabric for jeans upcycling bags or sustainable shopping bags.
Have fun sewing and if you post your sewing projects from my designs on Instagram, I would be happy if you tag me @andreamuehlbauer. I will love share your post in my story.
This post contains advertising.
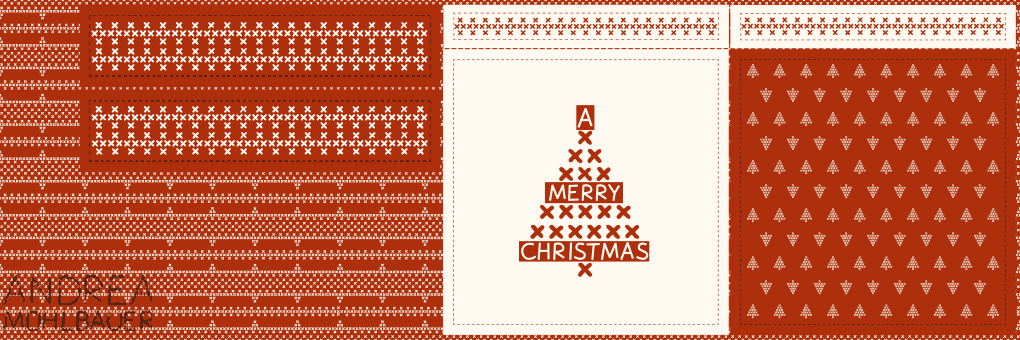
More Cut and Sew Panels Grocery or Gift Bags:


 Christmas In The Forest Stars Red Geschenk Tasche

0 comments on “Sewing tips for cut and sew bags”